Above is our edit suite.
PROCESS
1. After importing the clips we wanted to use onto Premiere, we created tracks and copy and pasted over the edited Red Planet song from our test edit and dragged it onto the audio track.
2. Then we started cutting clips and dragging them onto the video tracks. We had to make sure they were synced so that our lips were singing the song perfectly in time to the audio.
3. Then we each put in and edited our own individual shots according to the visual image of what we wanted our own sections to look like in mind
4. We collectively edited the sections of the video featuring scenes of the whole group.
SPECIAL EFFECTS
We proceeded to use special effects such as slow motion, reverse speed, wave warp, fade to blacks, cross section fades, lens flare effect and ProcAmp.
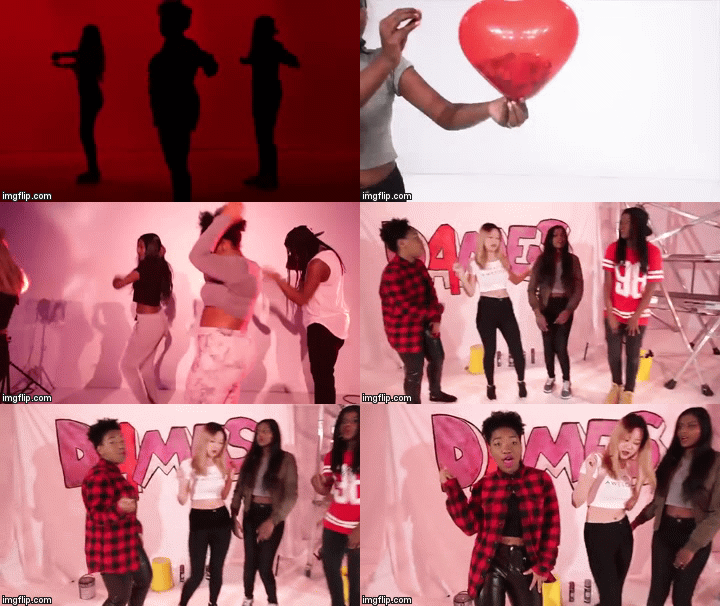
We used the slow motion and reverse speed often in conjunction to create arty scenes such as the balloon and confetti scene below. The balloon popping and confetti falling was originally very fast but we slowed it down by changing the duration of the clip to 200% and then used the same clip again but ticking the reverse option so that it would play backwards giving the illusion of time rewinding.

Feedback from our target audience (a group of young girls) included really liking the flashes in and fast cut aways we currently had so we put more in to make the scenes more dynamic and visually engaging as they were impressed by them. An example of that is also in the clip to the right

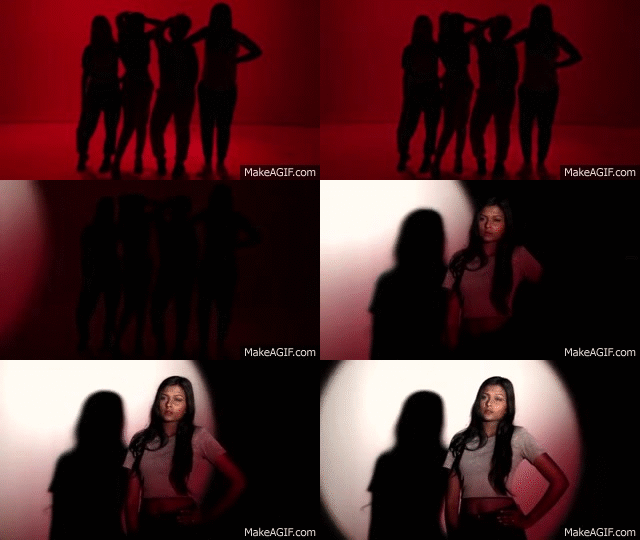
We often placed cross section dissolves onto the end of one clip and the start of the next so that the shots transitioned nicely into the next for example in the clip to the right.
This clip also shows the very beginning of our music video which previously started with Thakshana's spotlight shot. However one of our teachers said that it would be more suitable to introduce us as a group and then come in with the individual shots which was a key convention of band music videos. Thus we made our changes accordingly.
Wave warp was an effect I found as an alternative to the old, static TV effect we originally had in mind. It worked well when we introduced a small wave and then a larger one shortly after to build up the dramatic effect. A great example of this is during my verse.

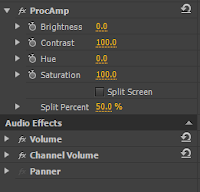
ProcAmp was very useful for grading which was the final step of editing the music video. This meant adjusting the brightness, contrast, hue and saturation of our all our clips.

Another interesting effect we found was the lens flare effect. This added more impact to the laser set up of my scene as it helped to intensify the galaxy/space vibe of my verse. At first this lens flare was static but after watching a tutorial in YouTube I learned how to move the flare in order for it to look more natural as there is camera movement which moves me around in the frame.
Overall I'm very happy with how we edited our music video, we put in so much time and effort which paid off.


No comments:
Post a Comment